Island outlining, line detailing, tonal color steps, emissive layer and final check and export
Following the initial phase of model creation, in Blender, I export both the low and the high detailed versions of the model to a program called Substance Painter, for painting. This involves five steps: island outlining, line detailing, tonal color steps, the emissive layer and the final check and export.
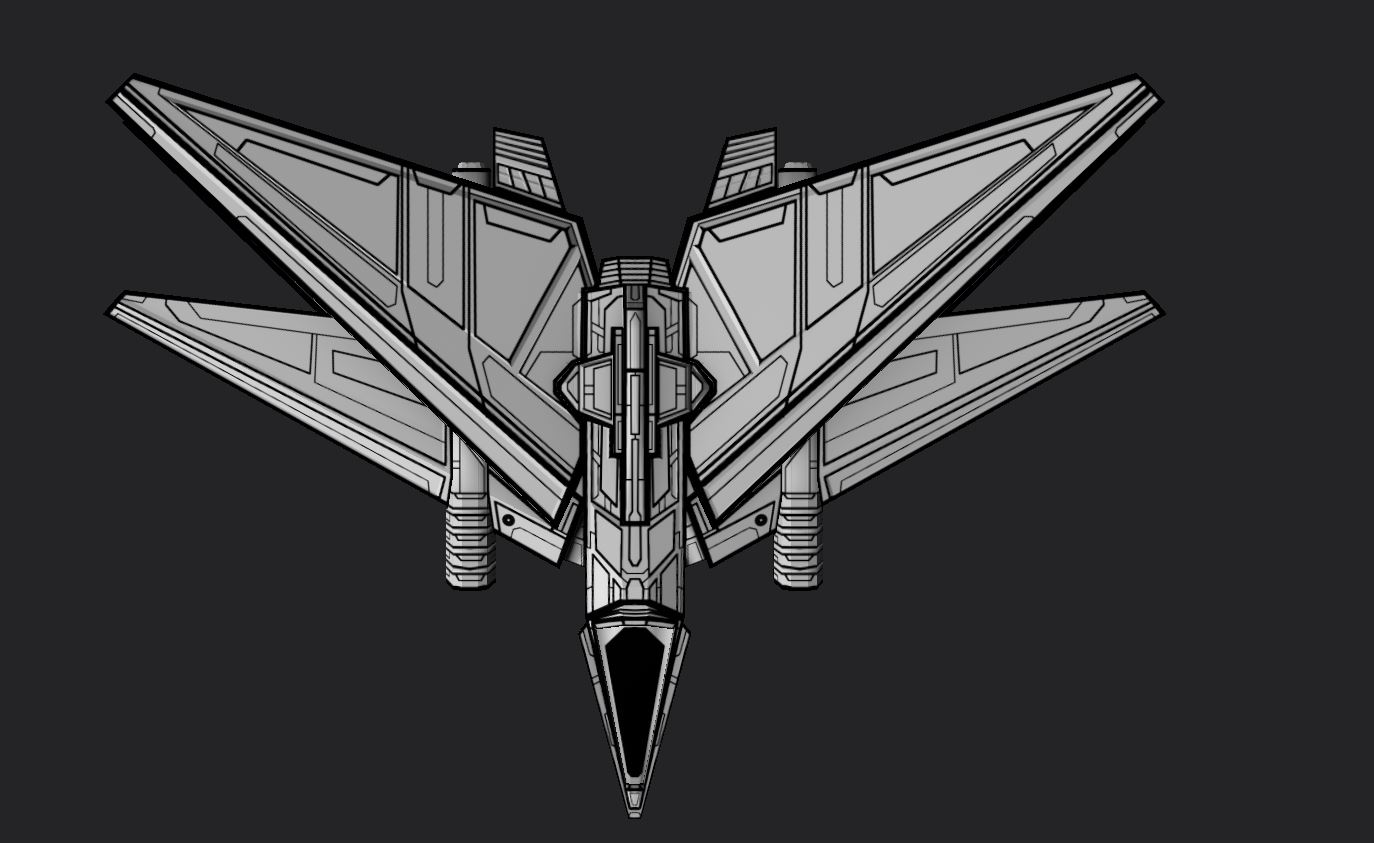
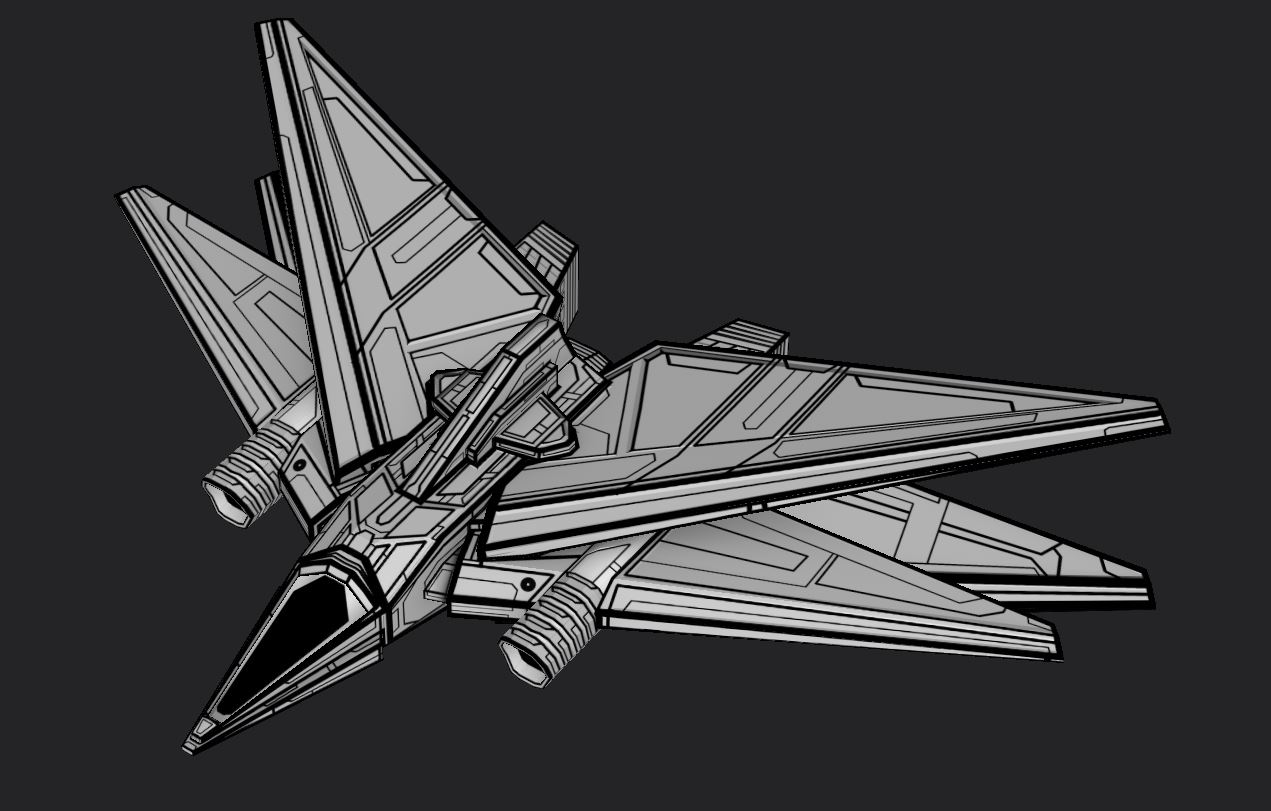
Island Outlining & Line Detail
Painting models for the new stylized direction of Age of Ascent is by far the most time consuming step of the entire asset creation process as each line is hand drawn. Varied line weight (width of individual lines) is important here. Too many thick bold lines puts too much emphasis on contours, whereas a disproportionate amount of thin lines makes details hard to see and the model can look anemic. When a balance is met of variable line weights across the whole of the model, that’s when the magic starts to happen and the texture begins to come together.
The first step of linework is the “island outline”. Thick, bold lines are drawn on the edges of all UV islands highlighting its geometry and angles. The value of the line weight varies from model to model as UV Island scale varies by model. For instance, a size 2 brush would work beautifully for model A as the UV Islands are very large, but would overpower model B with its greater abundance of UV Islands. Once this step is complete the lines give emphasis to the model.
Once the island outline is finished, I can move on to detailing the model with linework. Because I have the maximum line width I’ll be using already established, I can pick 3 or 4 different widths to use when filling in the details. The 3D detailing step becomes important here, it serves as a framework for medium lines and provides shading through the normal map layer. After implementing the medium lines, I fill in all the fine detail with the smallest line width. This is without a doubt the step with the most freeform creativity…I get to just play with what looks good using angles and shapes.
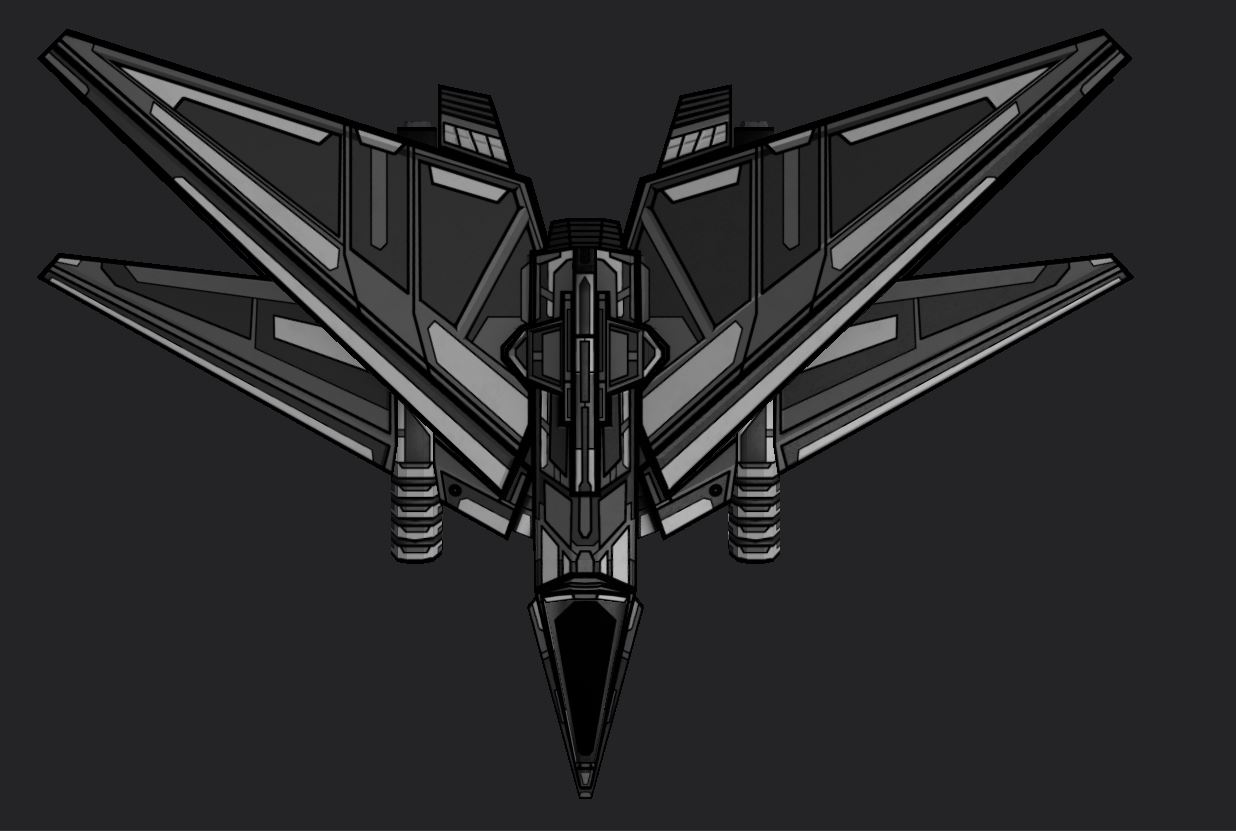
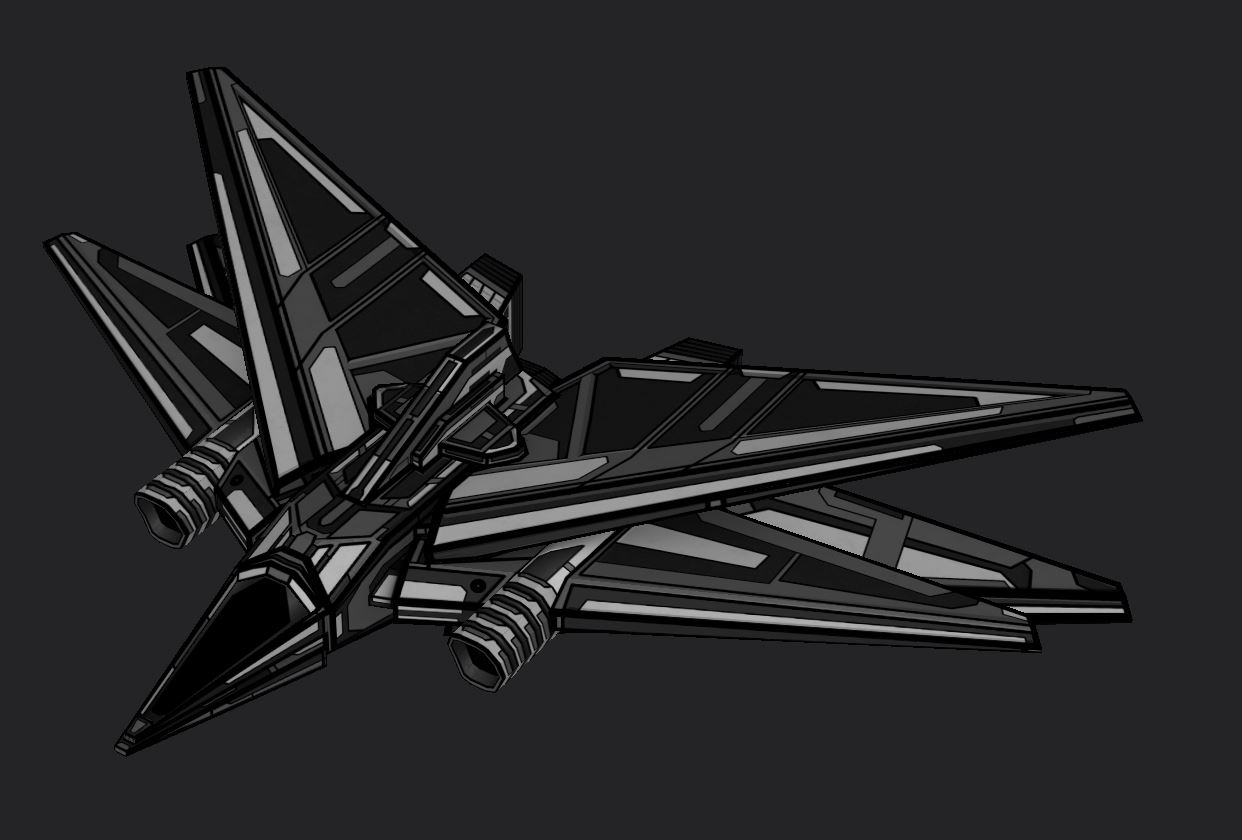
Tonal color steps
Once I’m happy with my linework, I move to applying color values to the model. If done correctly, the coloring also adds to the dimensionality of the model. To achieve this, I use five (sometimes more) layers of color: main color base coat, main color undercoat, main color highlight, secondary color base coat, secondary color highlight. Stacked together, they give the appearance of additional depth, even without any interaction with normals.
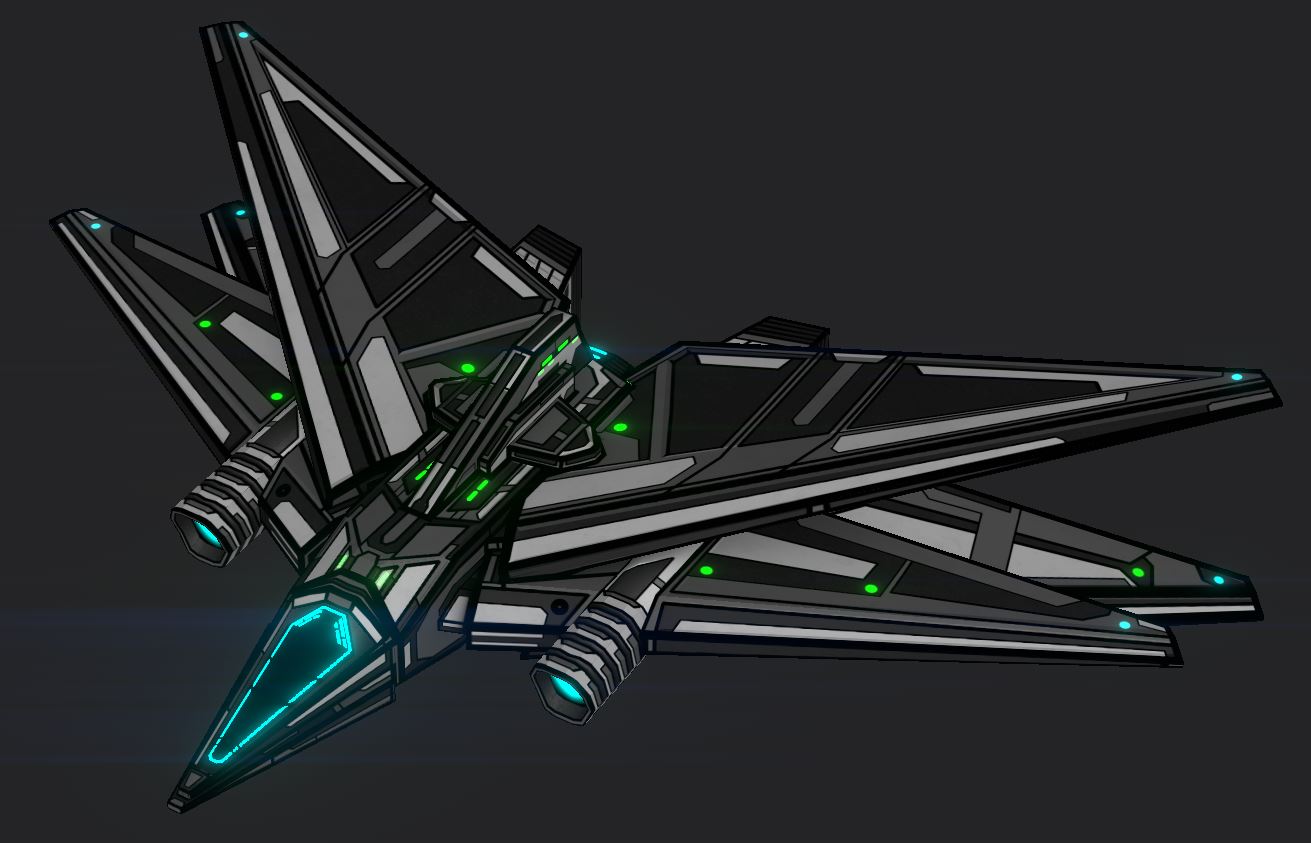
Emissive layer
The real icing on this spaceship cake comes with the emissive (glow) layer. Here I get to paint in the engine glow, weapons glow, running lights, and any other random sci-fi lighting I decide on. It’s important to not go too overboard with this lighting though, as too much will overpower the model and hide detail.
Final Check and Export
Once all my layers are set and finalized, I move on to quality checking the model. I’m looking for inconsistencies, mistakes, spots with low relative detail or too much detail, as well as a myriad of other factors. When the model is deemed satisfactory, I shift the colors to a green/red combo and export the texture maps. We feel that player customization is important, so we use the map’s green and red channel to provide players with customizable colors through adjustable sliders. After this, the model and its maps are implemented into Age of Ascent!

Get in touch!
For press: press@ageofascent.com.