A quick primer on 3D Model creation in Age of Ascent
As mentioned in my earlier overview of the Age of Ascent creative process, the look and feel of the game has undergone a major transformation. I briefly explained each step of the process of creating 3D assets for Age of Ascent, and this post provides more detail on model creation.
Concept and Rough Sketch/Rough Model
My approach to asset creation is first understanding the need. For example, what does it need to do? Where is the object and what is it interacting with? What function does it serve? With these things in mind I start sketching the rough model out…sometimes on paper, but most of the time I just start sculpting with an idea in my head and adapt as I go along. There is no need to interface with a concept artist and attempt to replicate their vision, the vision is my own from the beginning.
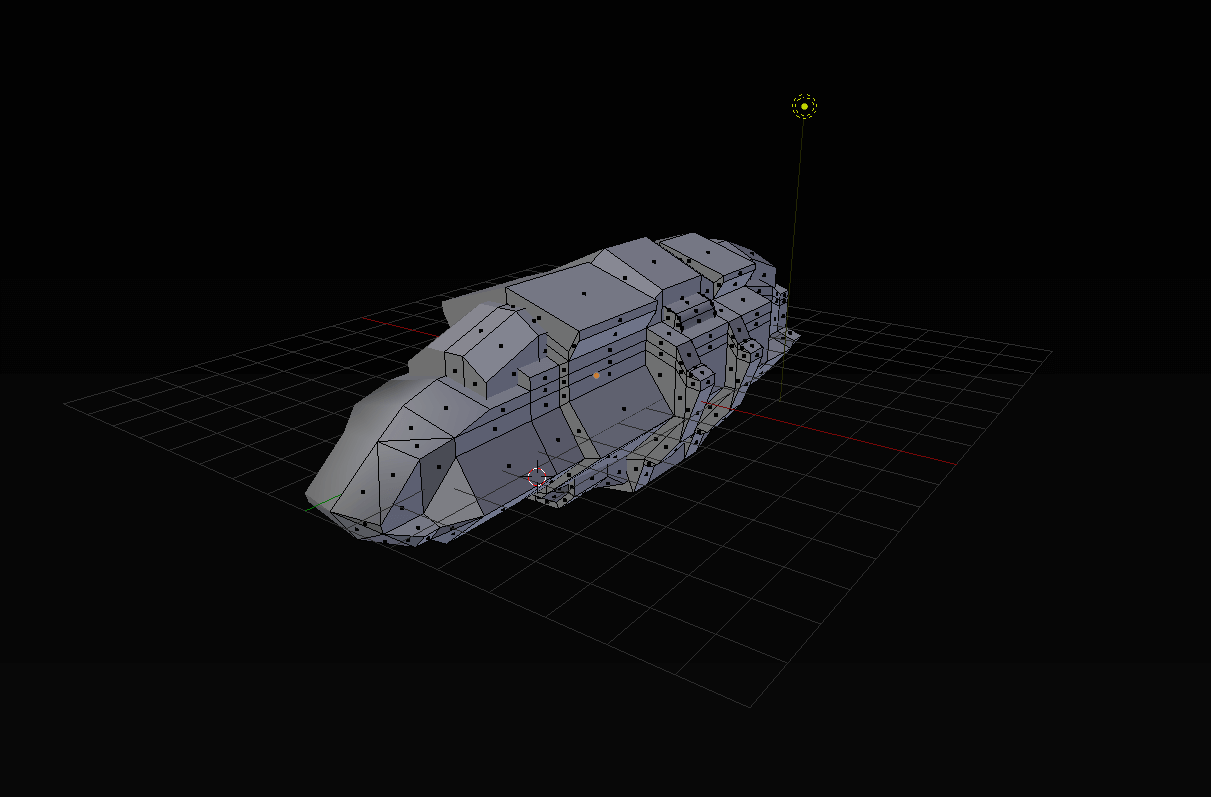
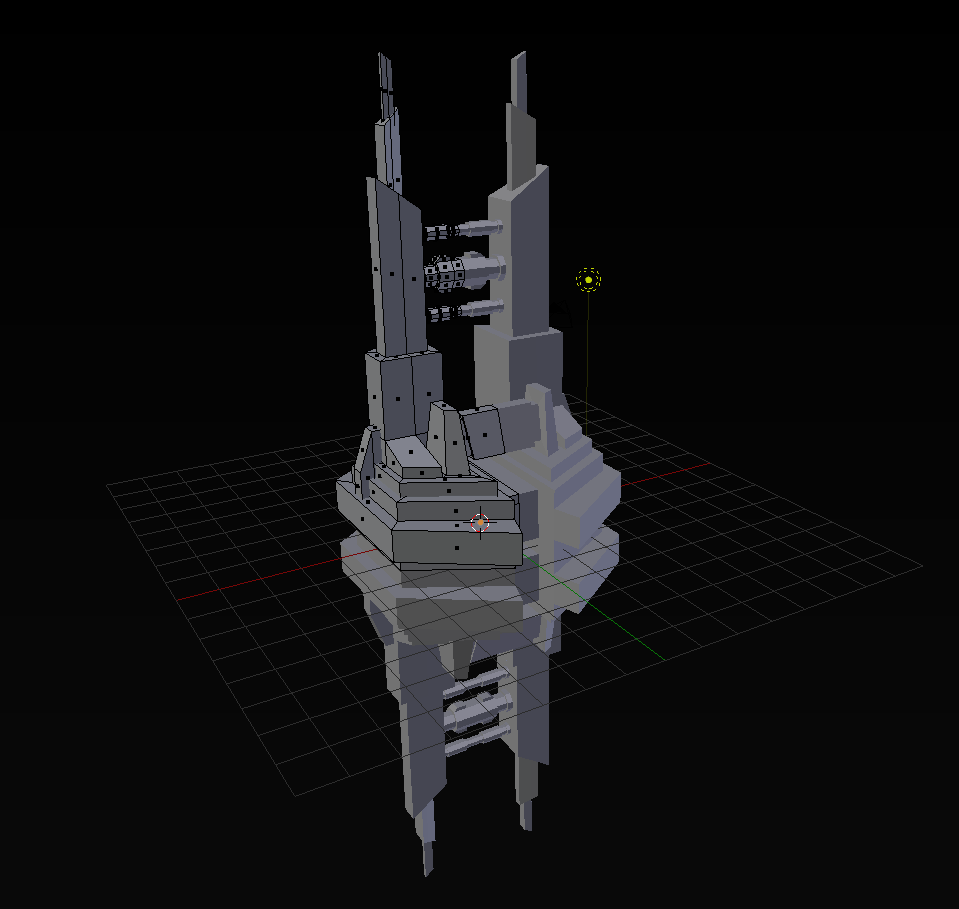
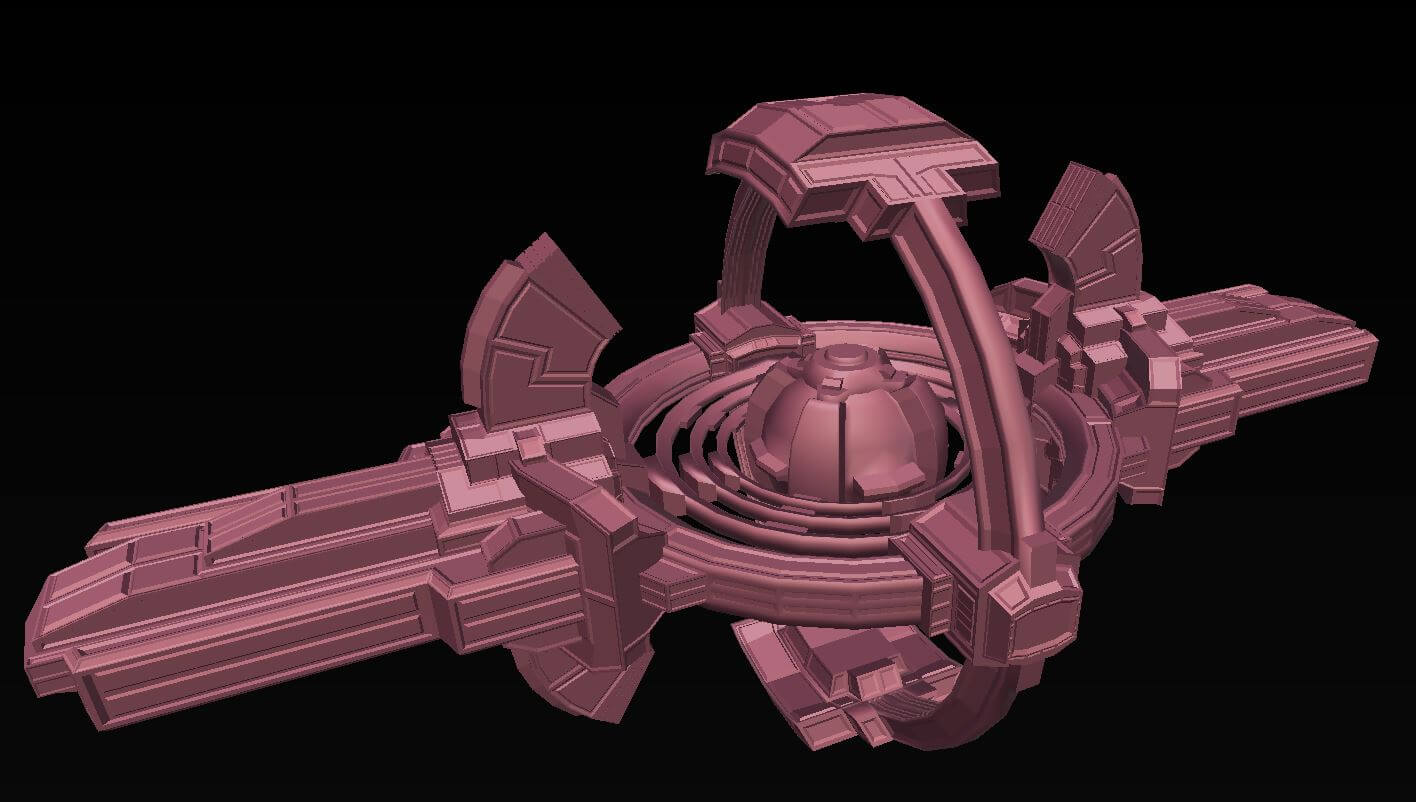
Once complete, the initial rough model ends up being the low-detail basis for the rest of the development pipeline. Age of Ascent being a browser-based 3D game with no downloads requires us to keep models relatively simple and low-poly, but that doesn’t mean they cannot have lots of detail. I leverage a number of 3D creative tools to provide that detail.
UV Unwrapping and Mapping
For anyone unfamiliar with how images are rendered on a 3D model, this is the step where a map is created that gives each model directions on how to display the image painted on them. The goal is to “cut up” the model along edge seams to create shapes that will wrap around the model without stretching the image or adding distortion.
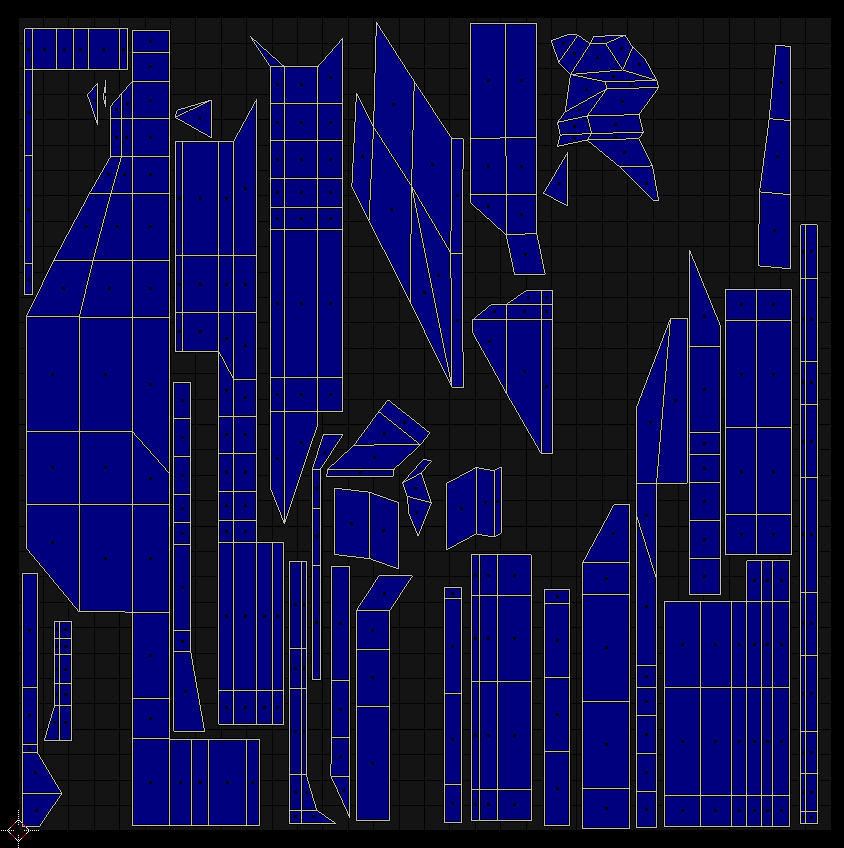
Another important part of UV mapping is using the space provided as efficiently as possible. By maximizing the area used, I maximize the quality of the texture simply by using more pixels on each UV “island” (cut-up segments of the model). Being both tedious and time consuming, this step feels more like doing a spatial puzzle than any sort of artistic process, but is an important part of model creation.
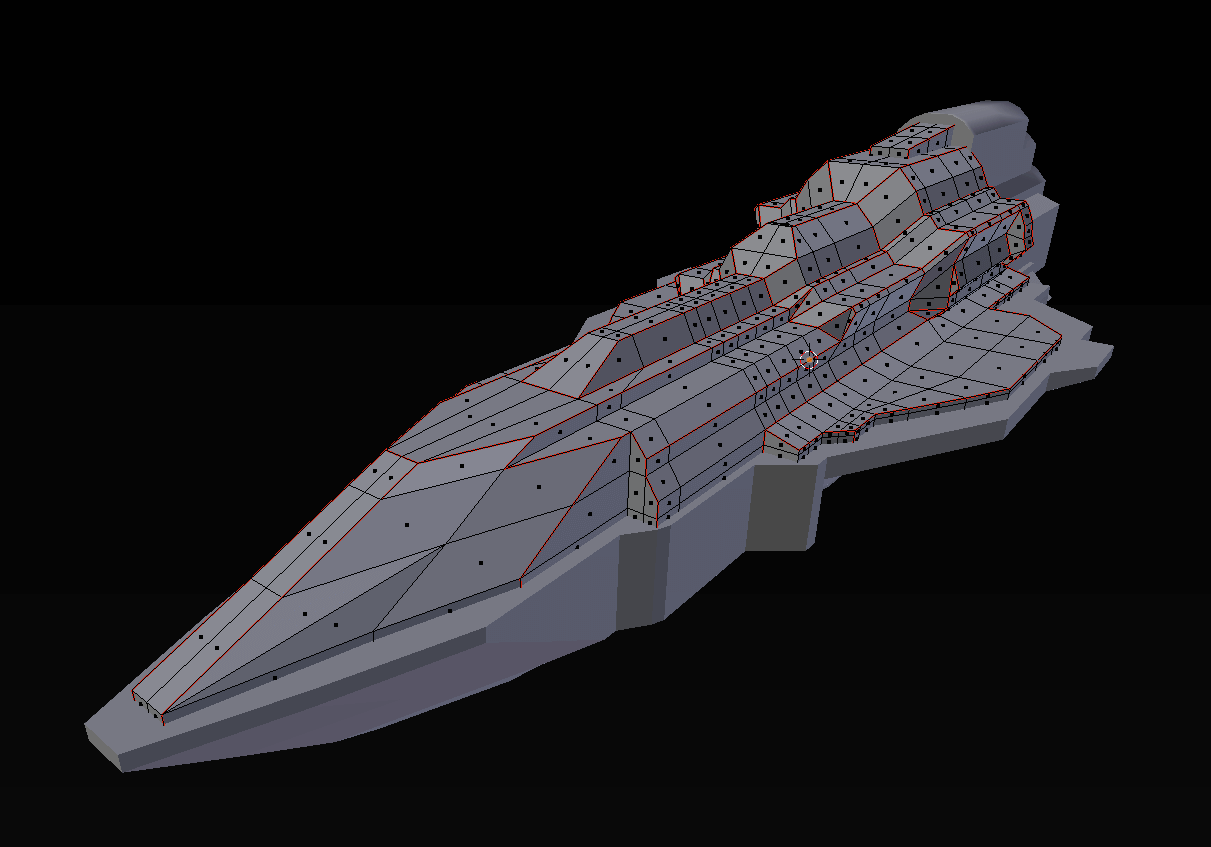
3D Detailing for Baking Normals

This step is critical for both the general look of the model as well as providing detail and depth on the final product through normals. Here I duplicate the original “rough” model and then work on adding fine details and interesting angles across the detailed model. There’s nothing too technical about this step…no carving or sculpting tools are used, just pure geometry as I’m creating hard surfaces. Once I’m happy with the finished product in Blender I export both the low and high detailed versions of the model to a different program, Substance Painter, for painting.
That gives you a good view of our model creation process; in subsequent posts, I will take you through the remaining steps in more detail.

Get in touch!
For press: press@ageofascent.com.